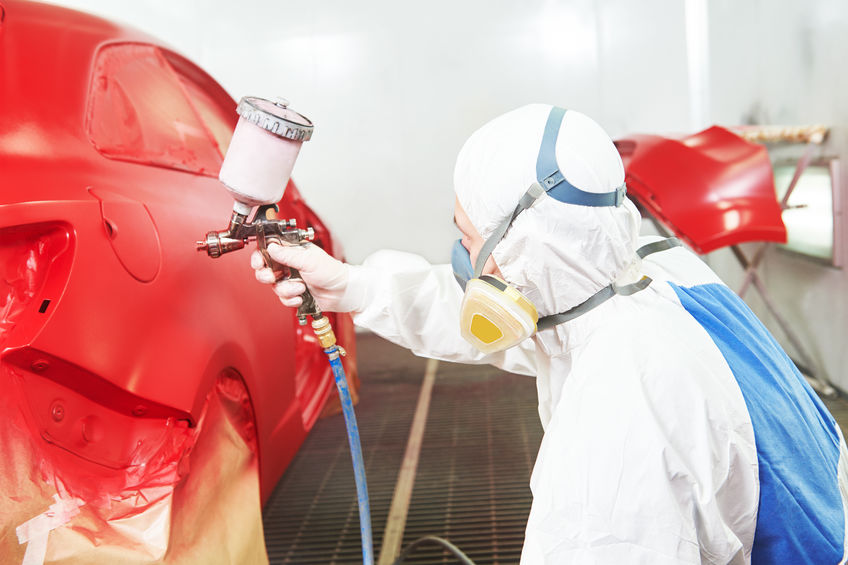
Auto Body Repair 101—The Painting Process
This is the first article in a series that will explain the basics of what an auto body shop does when repairing a vehicle after a collision. Please bear in mind that every body shop is different and these articles only outline the basic procedure of the particular repair process. Some body shops will use different techniques in various phases of repairing your vehicle, including using different materials, parts, paints, etc.
Our first article focuses on the painting process—a critical step in restoring your car to its pre-accident condition. Below are the 9 basic steps in painting or re-painting a vehicle:
1. Determine the paint to be used.
Normally, there are 3 coats of paint used in painting a car: primer, topcoat and clear coat. Each coat of paint serves a purpose to both protect the metal as well as the finish. There are usually two types of paint that shops use—either water borne or solvent borne. Solvent borne is the most traditional and contains a solvent base like urethane, lacquer or enamel. Waterborne is being used more and more today however, due to being more environmentally friendly. Both of these paints however, are made specifically for automobiles and no other types of paint should be used.


2. Match the paint to the rest of the car.
If a car is only being partially repainted, the color can be matched by finding the color code which is on a vehicle’s compliance plate.
3. All surfaces that aren’t being painted are masked.
Tape should be applied to any surfaces not being painted.
4. The vehicle is sanded.
Sanding down to the metal is not always necessary depending on whether the repair part is new or is an existing part that has been restored. Once sanding is complete, the vehicle is wiped down with thinners to remove any dust or other residue. It should be completely dry before proceeding with painting.
5. Primer is applied. Applying the primer usually takes 2 to 3 coats to cover the entire surface of the parts evenly. Each coat, again, should be thoroughly dry before the next coat is applied.
6. The vehicle is re-sanded. This gets rid of the powdery effect of the primer and evens out the surface. Again, after re-sanding, the vehicle is wiped down with thinner to get any remaining residue than may remain.
7. The topcoat of paint is applied. This paint is usually used with paint thinner. Ratios of paint thinner to paint vary depending on the paint used. As with applying the primer, the same sequence of 3-4 coats of topcoat are applied and each coat should be thoroughly dry before applying the next one. Before the last coat is applied, the surface is again wiped down with a fine sandpaper and then a clean rag.
8. Apply a coat of lacquer. The same steps as applying the primer and topcoat are used with 1-2 coats usually being used.
9. Buffing. The vehicle should be buffed to even out and smooth the finish of the vehicle.
Most body shops follow the steps above. There can be problems with the most even paint job including missing blemishes during the sanding and painting phases, color mismatches and paint bleeding. Although they’re sometimes a nuisance, they are all easily fixable. Most body shops double-check their work to make sure the finish is even, the color matches correctly and there are no blemishes.
At Orlando Auto Body, we strive to restore your car to its pre-accident condition and take great pains to make sure your paint job matches the rest of your car. Call us today for a free estimate at (480) 844-4858.

